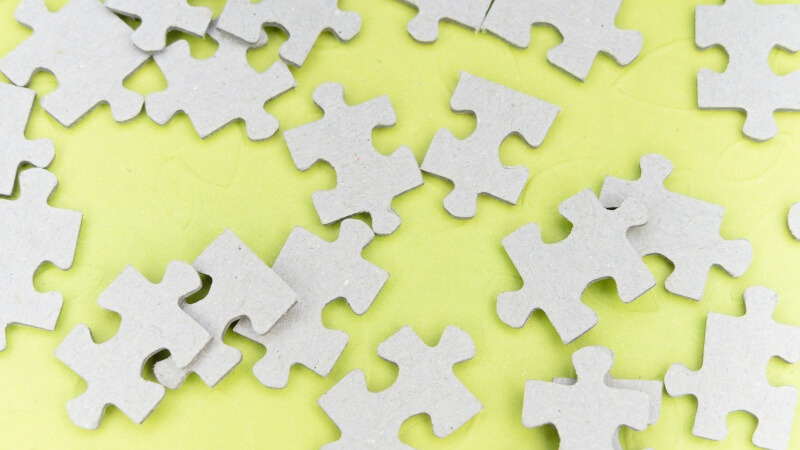
Have you ever looked at a 3D wooden puzzle and thought about how much more engaging it could be with a splash of color?
This guide is crafted for enthusiasts eager to transform their wooden puzzles into vibrant works of art.
Through a series of steps, we will explore how to prepare, paint, and protect your puzzle, ensuring it becomes a cherished piece in your collection.
Preparing your puzzle for painting
Proper preparation is the foundation of any great painting project, especially when it involves a 3D wooden puzzle.
This initial stage is critical to achieving a flawless finish that not only looks professional but also stands the test of time.
- Selecting the right puzzle: Choosing the correct 3D wooden puzzle is like selecting a canvas for your painting. Opt for puzzles that resonate with your artistic vision, considering factors such as the complexity of the design, the texture of the wood, and the size. A puzzle with a smooth surface and well-defined edges is ideal for detailed work and will ensure your paints or stains adhere properly.
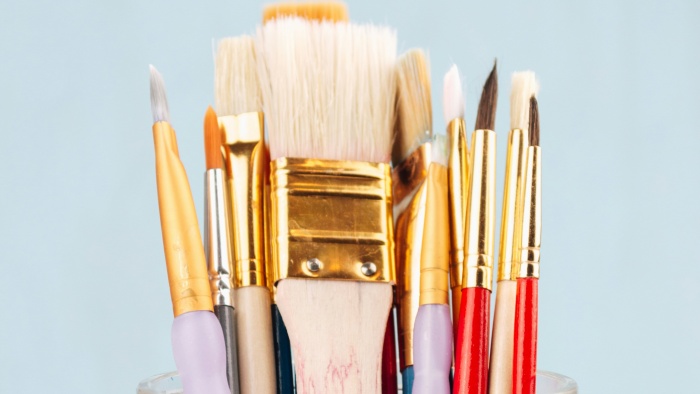
- Gathering your materials: To bring your vision to life, you’ll need the right tools. Acrylic paints are a popular choice for their quick drying time and vibrant colors, but water-based stains can also produce beautiful, translucent effects that highlight the wood’s natural grain. Don’t forget a variety of brushes for different detail levels, a palette for mixing custom colors, and a clear varnish to seal your work and protect it from dust and wear.
- Cleaning and Sanding: A clean and smooth surface is crucial for paint adherence. Begin by dusting off any debris from your 3D wooden puzzle. Then, using fine-grit sandpaper, gently sand the surface to remove any rough spots or imperfections. This not only helps the paint stick better but also prevents any unwanted texture under your artwork.
Designing your puzzle’ look
With your 3D wooden puzzle prepared, it’s time to unleash your creativity. Designing your puzzle’s appearance is a thrilling process that allows you to envision the end result and plan how to get there.
- Creating a pattern: Designing a pattern or theme for your 3D wooden puzzle is akin to drafting a roadmap for your painting journey. Consider the puzzle’s structure and how colors or patterns can accentuate its dimensions. From geometric patterns to natural scenes, your design can be as simple or intricate as you like. Sketch your ideas on paper first to experiment with different concepts before committing to paint.
- Choosing Your Colors: Colors have the power to transform your 3D wooden puzzle into a striking display piece. Select a palette that complements the puzzle’s theme and your home decor. Consider using contrasting colors for a bold effect or harmonious shades for a more subtle look. Remember, certain colors can change appearance when applied to wood, so it might be helpful to test them on a spare piece first.
- Planning Your Approach: Strategizing the painting sequence for your 3D wooden puzzle ensures a smooth process, especially for designs with multiple colors or intricate details. Plan which areas to paint first and consider how layers of color will interact. This approach minimizes mistakes and helps achieve a clean, professional look. Remember, patience is key—allow each layer to dry fully before proceeding to the next.
The painting process
Painting your 3D wooden puzzle is where magic happens. This stage is all about applying your design with care and precision to bring your creative vision to life.
- Applying a Base Coat: Starting with a base coat primes your 3D wooden puzzle, ensuring the colors pop and remain true to hue. A light or white base coat can significantly enhance the brightness and opacity of your top colors. Apply it evenly across the puzzle, paying close attention to crevices and edges. This step sets the stage for a vibrant and lasting finish.
- Adding Colors Gradually: Layering colors gradually allows for depth and richness in your 3D wooden puzzle’s appearance. Begin with the lighter shades and progress to the darker ones, allowing each layer to dry thoroughly before applying the next. This technique prevents colors from bleeding into each other and helps maintain sharp lines and details. Use a steady hand and don’t rush—the beauty of your puzzle unfolds with each carefully applied coat.
- Detailing Your Puzzle: Adding details is what truly brings your 3D wooden puzzle to life. This is your opportunity to showcase your artistic skills, whether it’s through delicate brush strokes, textured effects, or accent highlights. Focus on the areas that will draw the eye, such as edges, corners, and any unique features of the puzzle. These final touches make your puzzle not just a painted object, but a piece of art.
- Drying and Touch-ups: After completing your masterpiece, allow ample time for the 3D wooden puzzle to dry completely. Inspect your work for any missed spots or areas that may need a second coat. Touch-ups are an important part of the process, ensuring every detail is perfect. Once satisfied, step back and admire your work—the transformation from plain wood to dazzling art is truly rewarding.

Finishing and protecting your puzzle
Your 3D wooden puzzle is now painted, but a few final steps are necessary to ensure its beauty and durability.
- Final Inspection: Take a moment for a final inspection of your 3D wooden puzzle. Look at it from different angles and in various lighting conditions to ensure every detail is exactly how you envisioned it. This is also the time to make any last-minute adjustments or touch-ups, ensuring your puzzle is flawless.
- Applying a Protective Sealant: Sealing your painted 3D wooden puzzle with a clear varnish or sealant is crucial for protection. It not only safeguards your puzzle against scratches and fading but also adds a professional gloss or matte finish, depending on your preference. Apply the sealant evenly, covering all painted surfaces. This step encapsulates your effort and artistry, preserving the puzzle’s beauty for years to come.
- Complete Drying: Patience is a virtue, especially when waiting for the sealant on your 3D wooden puzzle to dry. Place the puzzle in a well-ventilated area, away from direct sunlight and dust. Allow it to dry completely, which may take up to 24 hours or longer, depending on the sealant used. This ensures the protective layer sets properly, keeping your puzzle vibrant and protected.
Displaying and maintaining your puzzle
Finding the perfect spot to display your 3D wooden puzzle is the final step in the creative process. Proper display and maintenance will ensure your puzzle remains a focal point of your décor and conversation.
- Choosing a Display Method: Your painted 3D wooden puzzle deserves a spot where it can be admired by all. Consider how the puzzle complements your space—whether it’s displayed prominently on a mantle, nestled among books on a shelf, or hanging on a wall. The right display method not only showcases your puzzle effectively but also integrates it into your home as a piece of art.
- Routine Maintenance: To keep your 3D wooden puzzle looking its best, regular maintenance is key. Dust it gently with a soft brush or cloth to prevent buildup. If needed, a slightly damp cloth can be used to wipe the surface gently, but avoid harsh chemicals or water, which could damage the sealant or paint. With proper care, your puzzle will continue to dazzle and delight for years to come.

Conclusion
Coloring a 3D wooden puzzle is an enriching experience that combines the joy of puzzle assembly with the creative satisfaction of painting.
From the initial preparation to the final display, each step offers an opportunity to infuse your personal style and creativity into a unique piece of art.
Whether for yourself or as a gift, a hand-painted 3D wooden puzzle stands as a testament to creativity, patience, and personal expression. Embrace the process and let your imagination lead the way to a colorful, captivating puzzle masterpiece.
FAQs
Can I use spray paint on my 3D wooden puzzle?
Yes, spray paint can be a quick and efficient way to color your puzzle, especially for base coats or large areas. However, it requires a well-ventilated space and careful masking of areas you wish to keep paint-free. Spray paint dries quickly and offers a smooth finish but may not be suitable for intricate details.
How long should I wait between applying different colors?
The drying time can vary based on the type of paint used, thickness of the application, and environmental conditions. As a general rule, allow at least 2-4 hours for acrylic paints to dry to the touch before applying adjacent colors or additional coats. For oil-based paints or stains, waiting overnight is advisable.
What should I do if I make a mistake while painting?
Mistakes are part of the creative process. If the paint is still wet, you can wipe it off with a damp cloth. For dried paint, a small amount of fine-grit sandpaper can be used to gently remove the unwanted paint. Then, touch up the area with the base coat before reapplying the correct color.
Can I mix different types of paints and stains on the same puzzle?
Mixing different types of finishes (e.g., acrylic paint with a wood stain) can achieve unique effects, but it’s important to test compatibility on a small, inconspicuous area first. Ensure each layer is completely dry before applying a different type of finish to avoid reactions that could ruin your design.
How can I achieve a glossy finish on my painted puzzle?
To achieve a glossy finish, apply a clear gloss varnish or sealant after your paint has completely dried. These products are available in spray or brush-on formulas. For an ultra-shiny effect, consider applying multiple thin coats of gloss varnish, allowing adequate drying time between each coat.