How To Add Storylines To Your Wooden Jigsaw Puzzle: A Creative Guide
Imagine a wooden jigsaw puzzle where each piece is more than a part of an image; it’s a chapter in a captivating story waiting to

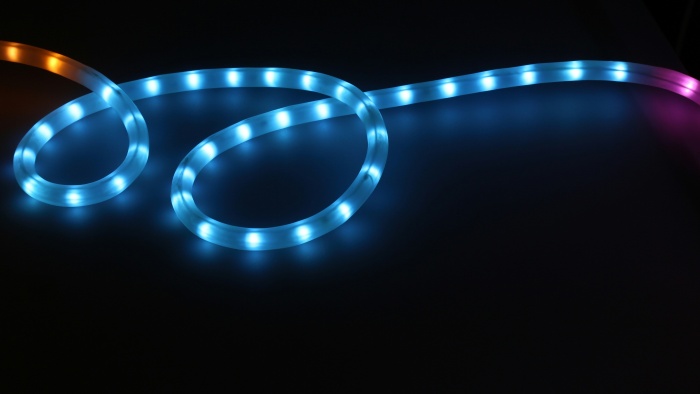
Imagine your wooden jigsaw puzzle not just as a piece to be solved but as an interactive journey that engages all your senses.
This guide is crafted for DIY enthusiasts and puzzle lovers, detailing step-by-step how to infuse your puzzle with enchanting sound and light effects.
By the end, your puzzle will not only be a visual spectacle but also a dynamic experience, sparking joy and curiosity with every piece placed.
Embarking on this project requires a blend of creativity, patience, and a bit of technical know-how. Let’s start with the basics to ensure a seamless experience.

This phase is where your creative vision for the wooden jigsaw puzzle begins to take shape. It’s about integrating technology with artistry.
The assembly phase is where your project starts to come alive, requiring precision and attention to detail.

After assembly, thorough testing is essential to ensure your creation works as envisioned.
With your wooden jigsaw puzzle now a beacon of light and sound, here’s how to keep it shining bright and sounding clear.

By adding sound and light effects, your wooden jigsaw puzzle transcends its original form, becoming an immersive experience that delights and surprises.
This guide has walked you through each step of the process, from the initial planning and design to assembly, testing, and maintenance.
Whether you’re a seasoned DIY enthusiast or a newcomer to the world of electronics, the transformation of your puzzle into a multisensory masterpiece is a rewarding journey.
Embrace the challenge, and let your creativity lead the way to a wooden jigsaw puzzle that not only challenges the mind but also captivates the senses.
Can I add sound and light effects to any wooden jigsaw puzzle?
Yes, you can add sound and light effects to almost any wooden jigsaw puzzle. However, the complexity and thickness of the puzzle might affect the installation process. Thinner puzzles may require more delicate handling and careful placement of components to avoid damage. It’s advisable to start with a puzzle that has a solid backing and ample space for wiring and components.
How long does it typically take to complete this DIY project?
The time it takes to complete this project can vary widely depending on the complexity of the design and your experience with electronics. For beginners, expect to spend several hours spread over a few days to carefully plan, assemble, and test your enhancements. More experienced DIYers might complete the project in a shorter timeframe, especially with simpler designs.
Do I need any special software to program the sound module?
Some sound modules require programming to upload sound clips or to customize how and when sounds are triggered. This might involve using specific software provided by the module manufacturer. However, there are also many user-friendly sound modules available that come with pre-loaded sounds or use simple button presses to record and set sounds, eliminating the need for specialized software.
Is it possible to change the sound clips or lighting patterns after completing the project?
Yes, depending on the type of sound module and LEDs you choose, you can change the sound clips and lighting patterns. For sound modules that allow recording over previous clips, you can update the sounds as often as you like. Similarly, using programmable LEDs or adding switches to control different lighting patterns can offer flexibility to modify the effects based on your preferences or to refresh the puzzle’s appearance and experience.
How can I ensure the longevity of my enhanced wooden jigsaw puzzle?
To ensure the longevity of your enhanced puzzle, handle it with care during assembly and use. Regular maintenance, such as checking connections, ensuring batteries are replaced or recharged as needed, and keeping the puzzle clean from dust, will help maintain its functionality. Also, consider using a protective backing or frame to house the electronics securely and to protect the puzzle from wear and tear during handling and display.


Imagine a wooden jigsaw puzzle where each piece is more than a part of an image; it’s a chapter in a captivating story waiting to

When choosing the right puzzle box(wooden puzzle boxes or paper one) for your toddler, it’s essential to consider the materials’ properties and how they align

Embark on a journey to unravel the nuanced distinctions between two beloved genres of puzzles: plain wooden puzzles and 3d wooden puzzles. In this comprehensive

In the enchanting world of puzzle assembly, the choice of storage can be as personal and complex as the puzzles themselves. Wooden puzzle boxes whisper

Imagine a wooden jigsaw puzzle where each piece is more than a part of an image; it’s a chapter in a captivating story waiting to

When choosing the right puzzle box(wooden puzzle boxes or paper one) for your toddler, it’s essential to consider the materials’ properties and how they align

Embark on a journey to unravel the nuanced distinctions between two beloved genres of puzzles: plain wooden puzzles and 3d wooden puzzles. In this comprehensive

Imagine your wooden jigsaw puzzle not just as a piece to be solved but as an interactive journey that engages all your senses. This guide
Copyright © 2024 woodcraft3dpuzzles. All Rights Reserved.