How To Add Storylines To Your Wooden Jigsaw Puzzle: A Creative Guide
Imagine a wooden jigsaw puzzle where each piece is more than a part of an image; it’s a chapter in a captivating story waiting to
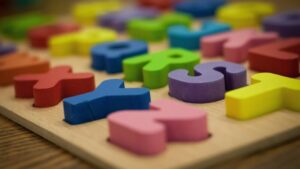
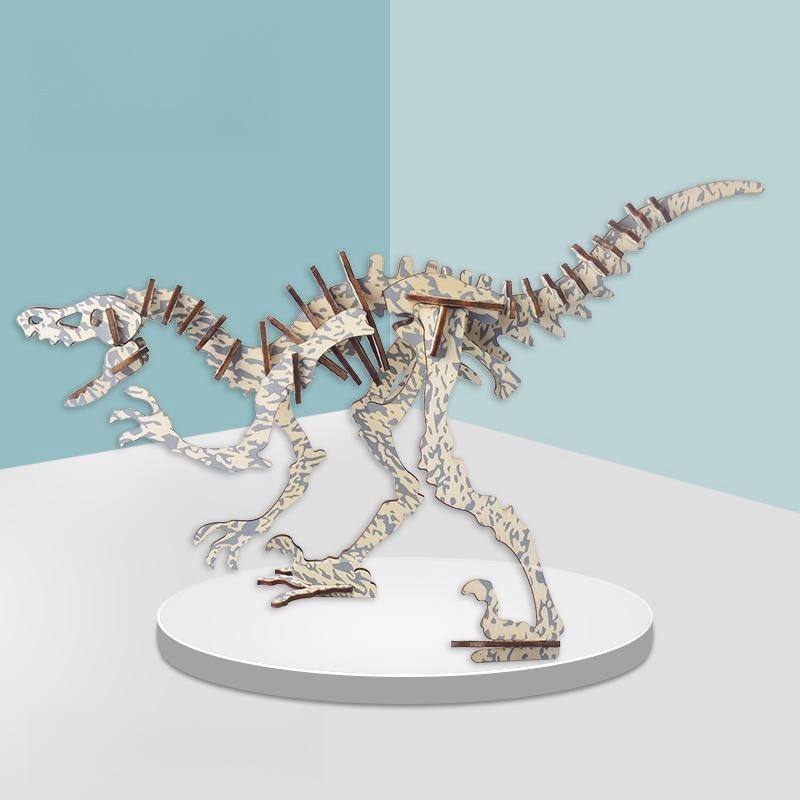
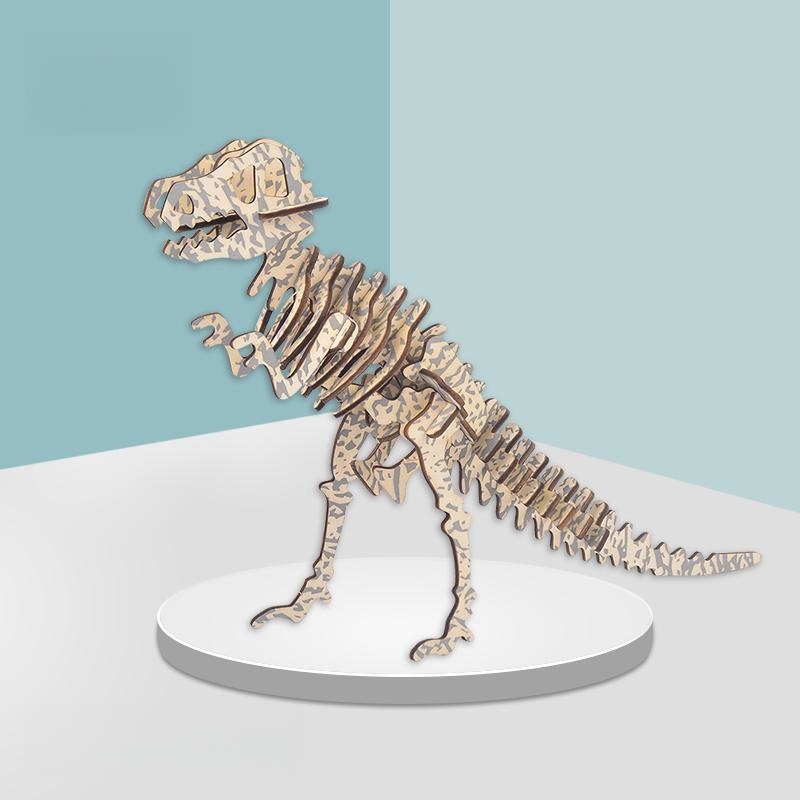
3D wooden puzzles are a fun and engaging hobby that is growing in popularity. Unlike traditional jigsaw puzzles that lie flat, 3D wooden puzzles are intricate models that can be assembled into complete sculptures.
From famous landmarks to animals and vehicles, the creations you can build are only limited by your imagination.
If you’re new to 3D wooden puzzles, the process of assembling them can seem daunting at first. But with some patience and by following this step-by-step guide, you’ll be able to successfully construct your first 3D wooden puzzle into an impressive work of art.

Choosing the right 3D wooden puzzle for your first build is an important decision that will set the tone for your puzzle assembly experience. Here are some factors to consider when making your selection:
When choosing your first 3D wooden puzzle, select one that has an easier skill level. Puzzles are ranked from 1 to 5, with 1 being the easiest and 5 being the most difficult.
A level 1 or 2 puzzle is recommended for beginners. This will allow you to get familiar with assembling the pieces without becoming too frustrated. More intricate puzzles can be attempted as your skills improve.
Start with something basic that won’t overwhelm you. The 200-piece 3D puzzle of a cat or dog is very beginner-friendly.
On the other hand, a 1000-piece architectural model of the Eiffel Tower may be biting off more than you can chew as a novice.
There are 3D wooden puzzles covering just about every topic under the sun. Pick a puzzle that features a subject you find interesting or appealing.
You’re going to be spending a lot of time assembling it, so it helps if you actually enjoy the end result. Architecture, animals, fantasy creatures, and vehicles are all popular options.
Think about your own interests and hobbies. If you like cars, do a 3D wooden puzzle of your dream car. If you’re a dog lover, find a puzzle depicting your favorite breed.
Go with a subject that excites you and that you’ll be proud to show off once complete.
For your first puzzle, choose one that has a lower piece count, which usually indicates it’s less difficult. Puzzles typically range from 100 pieces to over 1,000 pieces.
As a beginner, a puzzle with 200-500 pieces is manageable without being overly time-consuming to assemble. You can work your way up to more pieces on subsequent puzzles.
Don’t overwhelm yourself with a puzzle that has minuscule pieces numbering in the thousands for your first go around. As your skills develop over time, you’ll gain confidence to take on more complex puzzles with greater piece counts.
3D wooden puzzles can involve many distinctive piece shapes beyond just squares and rectangles. Look for puzzles labeled as easy fit or beginner-friendly that have more standard, interlocking-shaped pieces. Avoid puzzles with tiny detailed cuts and curves that can be hard to manipulate.
Standard notch, tab, and slot pieces are best for starters. Intricately shaped puzzle pieces can be discouraging early on. As your skills progress, more unconventional and uniquely shaped pieces will seem less intimidating.
Do some research by reading reviews of any puzzle you are considering. This gives insight into the difficulty level, directions, overall puzzle quality, and so on.
Make sure a puzzle has overall positive reviews before purchasing so you have the best experience assembling it.
Reviews from fellow puzzle builders can provide good tips and suggestions before you start. They’ll point out potential pitfalls of a puzzle that aren’t apparent by just looking at the box. The community aspect is part of the fun of 3D wooden puzzles.
3D wooden puzzles can range greatly in terms of cost depending on size, complexity, and materials. As a beginner, set a budget of around $30 to $50 for your first puzzle.
This allows you to try the hobby without spending a fortune on an elaborate project. Bigger budgets can come with more experience.
Consider the cost not just for the first puzzle, but also for ongoing purchases as you get hooked. The expenses add up fast! Go for quality over quantity when selecting puzzles to get started.
Once you’ve selected the perfect first puzzle, it’s time to get set up for the assembly process. Having an organized workspace and a methodical approach will streamline the build and lead to success.
Set up a table or flat workspace that allows you to spread out all the pieces and refer to the picture on the box as you build. Make sure you have adequate lighting so you can see all the tiny details on each piece. Your workspace should be clutter-free to avoid losing any small pieces.
Carve out a permanent spot in your home dedicated to puzzle building. This way, all your materials and tools will be easily accessible each time you sit down to work.
A folding table or desk that can be stowed away between sessions is convenient. Make sure young kids or pets can’t easily disrupt your workspace.
Open up the box and sort through all the pieces included in the puzzle. Separate them into piles based on color, piece type, or any other characteristics that stand out.
This makes it easier to find the specific piece you need as you’re assembling rather than sifting through a jumbled pile.
Use trays, plates, or silicone puzzle mats marked with sections to neatly organize all the pieces. Some puzzles even have separate bags inside the box for each section.
Taking time to be meticulous in your organization early on will really help the assembly process go smoothly.
Don’t skip past the instructions! The instructions will provide useful tips and tricks specific to that puzzle that will come in handy during the assembly process. It also confirms you have all the correct pieces before you dive in.
Instructions for 3D wooden puzzles are notorious for being poorly written translations with tiny pictures. So also look up online video tutorials for your specific puzzle. Try to understand the overall assembly method before getting started.
Gather any specialty tools like puzzle pliers that make it easier to grip and manipulate the pieces. A quality pair of non-slip puzzle assembly gloves will give you enhanced dexterity. You also need filler pieces if any are missing from the box.
It’s frustrating to be mid-assembly and realize you don’t have the right tool or accessory. Preparation with the proper puzzle-building equipment will prevent delays once you get going. Invest in quality tools for the best experience.
Make sure you set aside adequate uninterrupted time to focus solely on assembling the puzzle without distractions. Don’t plan on multitasking or working on the puzzle in short fragmented sessions. Immersing yourself in the building process from start to finish greatly enhances your chance of success.
Unlike a jigsaw puzzle on your coffee table that can be casually assembled over weeks or months, dedicate real time and attention to 3D wooden puzzles. Schedule a block of time where you can totally concentrate on the building.
Make yourself a checklist of everything we’ve covered that you’ll need before starting your puzzle – workspace, tools, time, instructions, organized pieces, and so on.
Glance through the list before beginning to make sure you didn’t miss any preparation steps. Being organized is key.
Now, for the fun part – actually put all those pieces together! Follow these guidelines during the assembly process to create a solid framework right from the beginning.
Identify the largest, most obvious pieces that will form the base or core structure of your puzzle. These are often pieces like solid-colored walls or the bottom of a vehicle. Connect these major anchor pieces first to give your puzzle stability as you build upwards and outwards.
Don’t waste time fiddling with small detail pieces at the start. Focus on the main structural elements first. Refer frequently to the picture on the box to identify these foundational pieces during assembly.
Once you’ve got your base pieces assembled, begin building up your puzzle starting from the bottom layer. Build a solid foundation, which will make placing upper layers much simpler down the road. Slowly work your way up to the top.
Think of it like building a house. You start with the foundation before adding floors and finally the roof. With puzzles, establishing the bottom gives you a base to then build upwards. Trying to span pieces across gaps with no support underneath rarely ends well.
Don’t attempt to assemble the entire puzzle all at once. Break it down into smaller sections, like individual walls or parts of a vehicle. Assemble one section completely before moving on to the next. This helps avoid confusion later on.
Looking at the completed picture on the box, mentally break the image down into individual assemblies, like the back wall or the hood section or a wheel assembly. Tackle these subunits individually for the best results.
As you finish each section, carefully inspect that all connecting joints, pegs, and links between pieces are secure. Give sections a gentle shake to confirm nothing will fall apart later on. Strong connections are critical.
It’s easy to assume pieces are locked together when they actually aren’t. Double-checking as you build prevents things from collapsing when you’re down the road. Don’t gloss over this important step.
No matter how much you prepare, you’ll invariably come across tricky sections that cause you problems. Here are some tips for working through the challenging parts that threaten to derail your progress.
The picture on the box is there for a reason! Frequently refer back to the completed image to see how pieces should fit together. This will give you a visualization of how components should connect.
Don’t be afraid to pick up the box and study the photo up close as you work. The pictures provide clues that would be tough to imagine otherwise. Continually check that your assembly matches the completed version shown.
Walk away for a bit if you find yourself getting frustrated or fed up. Puzzles require patience. Taking short breaks will help clear your head, and you’ll likely figure out the problem once you sit down again with fresh eyes.
Never force pieces together that don’t fit. Simply walk away and come back later. Also, consider asking a family member for a second opinion if you’re stumped even after a break. A bit of time is all it usually takes.
If you realize later on that you made a mistake, don’t be afraid to disassemble sections to fix it. It’s easier to correct mistakes along the way than to be stuck with a finished product that has obvious errors. Backtracking is part of the puzzle assembly process.
Carefully label sections with painter’s tape as you build so you can easily disassemble specific areas if needed without fully deconstructing your puzzle. This makes backtracking less painful if required down the line.
Invest in tools like puzzle assembly pliers that give you more leverage and grip on tight-fitting pieces. Suction cup lifters can also help remove stuck pieces that need readjusting without damaging them. The right specialty tools can easily resolve tricky spots.
Beyond standard pliers, look into flexi-pliers, gripper tongs, and other tools specifically designed for manipulating stubborn wooden puzzle pieces. Having these on hand gives you options for tackling trouble spots without force.
As the final pieces fall into place, it’s important to take steps to complete and protect your masterpiece so it will last for years to come. Here are some finishing touches to incorporate as your first build nears completion.
Before admiring your completed 3D wooden puzzle, double-check that all connecting joints and pegs are firmly secure. Press pieces together tightly so there are no gaps or wiggle room. Nothing would be more heartbreaking than your puzzle falling apart after all that hard work!
Give your entire puzzle one final inspection, pressing on walls and sections to confirm stability. An unsecured peg or joint could cause collapse when moving or displaying your project. Go through it thoroughly before considering it done.
Specialty puzzle glue can help permanently keep pieces bonded together. This prevents completed models from disassembling over time. Just make sure to carefully follow directions, as too much glue can damage your work.
A high-quality puzzle glue helps lock pieces in position. This gives added insurance against shifting and separation, especially if you plan to transport or frequently handle your completed build. Apply conservatively as needed.
Now it’s time to proudly display your assembled 3D wooden puzzle! Find a shelf, table, or mounting stand to safely exhibit your creation. Displaying your puzzle will inspire you to take on more intricate builds for your collection.
Make sure sunlight or heat won’t damage your puzzle on display. Consider acrylic cases to protect prized wood builds from dust. The right display elevates your project into a work of art to enjoy beyond just the assembly process.
Once assembly is complete, take time to properly clean up your workspace. Discard instruction sheets, sweep up debris, wipe down the area, and neatly store away tools like specialty pliers and trays for next time. A little workspace organization will make your next build even smoother.
Maintaining a clean area allows you to easily start fresh with your next puzzle project. Never leave a messy pile of pieces and tools cluttering your space in between builds or it will slow you down getting set up next time.
More importantly, sit back and enjoy the immense feeling of accomplishment at having successfully built your first 3D wooden puzzle. It likely requires focus, dedication, and perseverance, so pat yourself on the back. The skills you’ve developed will serve you well as you continue this rewarding hobby.
Displaying your completed project will give you motivation through the challenging parts of future puzzles. Trust in the process, knowing harder puzzles will bring even greater feelings of satisfaction once you finish them.
Here are some additional tips to keep in mind as you continue on your 3D wooden puzzle journey after completing your first build.
Have more than one puzzle going at a time. That way if you get stuck on one, you can switch to another. Variety keeps things more interesting too. Having several builds in progress avoids frustration.
Specialty puzzle glue can help permanently keep pieces bonded together. This prevents completed models from disassembling over time. Just make sure to carefully follow directions, as too much glue can damage your work.
Join forums and social media groups related to 3D puzzles. These provide great support and advice from fellow enthusiasts when you get stuck. Don’t be afraid to ask questions and learn from the community.
Spend on some higher-end wooden puzzle assembly tools. Items like puzzle mats, trays, and specialty pliers make assembly much easier. Good tools really enhance the experience and make difficult jobs simple.
Get inspiration online for creative ways to exhibit finished puzzles using methods like wall mounting, embedded shelving, and floating frames. Make your hard work into an impressive display.
Keep notes on lessons learned, tricky steps, and tips for each puzzle you assemble. Refer back to these before starting your next puzzle to utilize what you learned.
Celebrate completing a big puzzle by treating yourself to a nice dinner, splurging on your next project, or enjoying a fun night out. Use milestones to generate excitement.
Vary projects by doing 3D puzzles with moving parts, puzzles that are puzzles within puzzles, and multi-layer puzzles for added complexity.
Cats and dogs can quickly turn your assembled masterpiece into a pile of rubble if given access. Keep completed projects safely out of paws’ reach!
Assembling 3D wooden puzzles is an incredibly rewarding hobby. The feeling of satisfaction when seeing your completed sculpture is hard to beat. With this step-by-step guide, you now have all the information you need to successfully build your first 3D wooden puzzle.
So grab a puzzle that catches your eye and start piecing it together. Before long, you’ll be displaying impressive works of wooden art.
Most importantly, remember to have fun and relish the relaxing, screen-free time you’ll spend assembling these artistic creations. The memories made during the journey are just as meaningful as the end result. Happy puzzling!